
Automate Reports in Excel with Office Scripts
Use Office Scripts in Excel 365 to auto format your reports with the click of a button, and SAVE TIME!
Are you tired of spending precious time manually formatting reports in Microsoft Excel? If so, you're in luck! In this tutorial, I’ll walk you through the process of automating report formatting using Office Scripts. This powerful feature can save you valuable time and streamline your reporting tasks. Click to watch the video tutorial on how to automate your repetitive formatting tasks in Excel.
Automate report formatting in Excel using Office Scripts
What Are Office Scripts?
Office Scripts are a feature available in certain versions of Microsoft 365, specifically in the Work or Enterprise plans. They allow you to automate repetitive tasks in Excel by recording and replaying a series of actions. In this tutorial, I’ll show you how to create and run Office Scripts to format reports effortlessly.
Prerequisites:
Before we get started, ensure you have the following:
A Microsoft 365 subscription with Office Scripts enabled.
A report in Excel that you want to automate formatting for.
Step 1: Access the "Automate" Tab
Open Excel, either in the web or desktop app.
Look for the "Automate" tab. If you can't see it, your IT administrators may have disabled it. Ensure you have the appropriate subscription.

Excel for Microsoft 365 Web App Version - Automate Tab
Step 2: Record Your Actions
Open the report you want to format.
Click on "Automate" and then select "Record Actions."
The "Record Action" panel will appear on the right-hand side, ready to record your actions.

Step 3: Format Your Report
Below are examples of actions we perform in the video tutorial to format our report including auto-fitting columns, formatting the header row, inserting and formatting columns, etc.
Select all the columns you want to auto-fit.
Double-click on any of the selected column boundaries to auto-fit them.
Select the header row by pressing "Control + Shift + Right Arrow."
Go to the "Home" tab.
Click "Bold" to make the text bold.
Click "Center" to center-align the text.
Choose a fill color for the header if desired.
Identify the columns that need special formatting (e.g., currency).
Select the entire column.
Apply the desired formatting, such as currency or date formats.
Right-click where you want to insert a new column.
Choose "Insert" and give the column a name (e.g., "Age").
Enter a formula for the new column if needed.
Step 4: Save Your Script
Click on "Stop" to finish recording your actions.
Your actions will be saved as a new Office Script.
You can click on the “Script” name field to rename the script for easy reference and hit Enter.
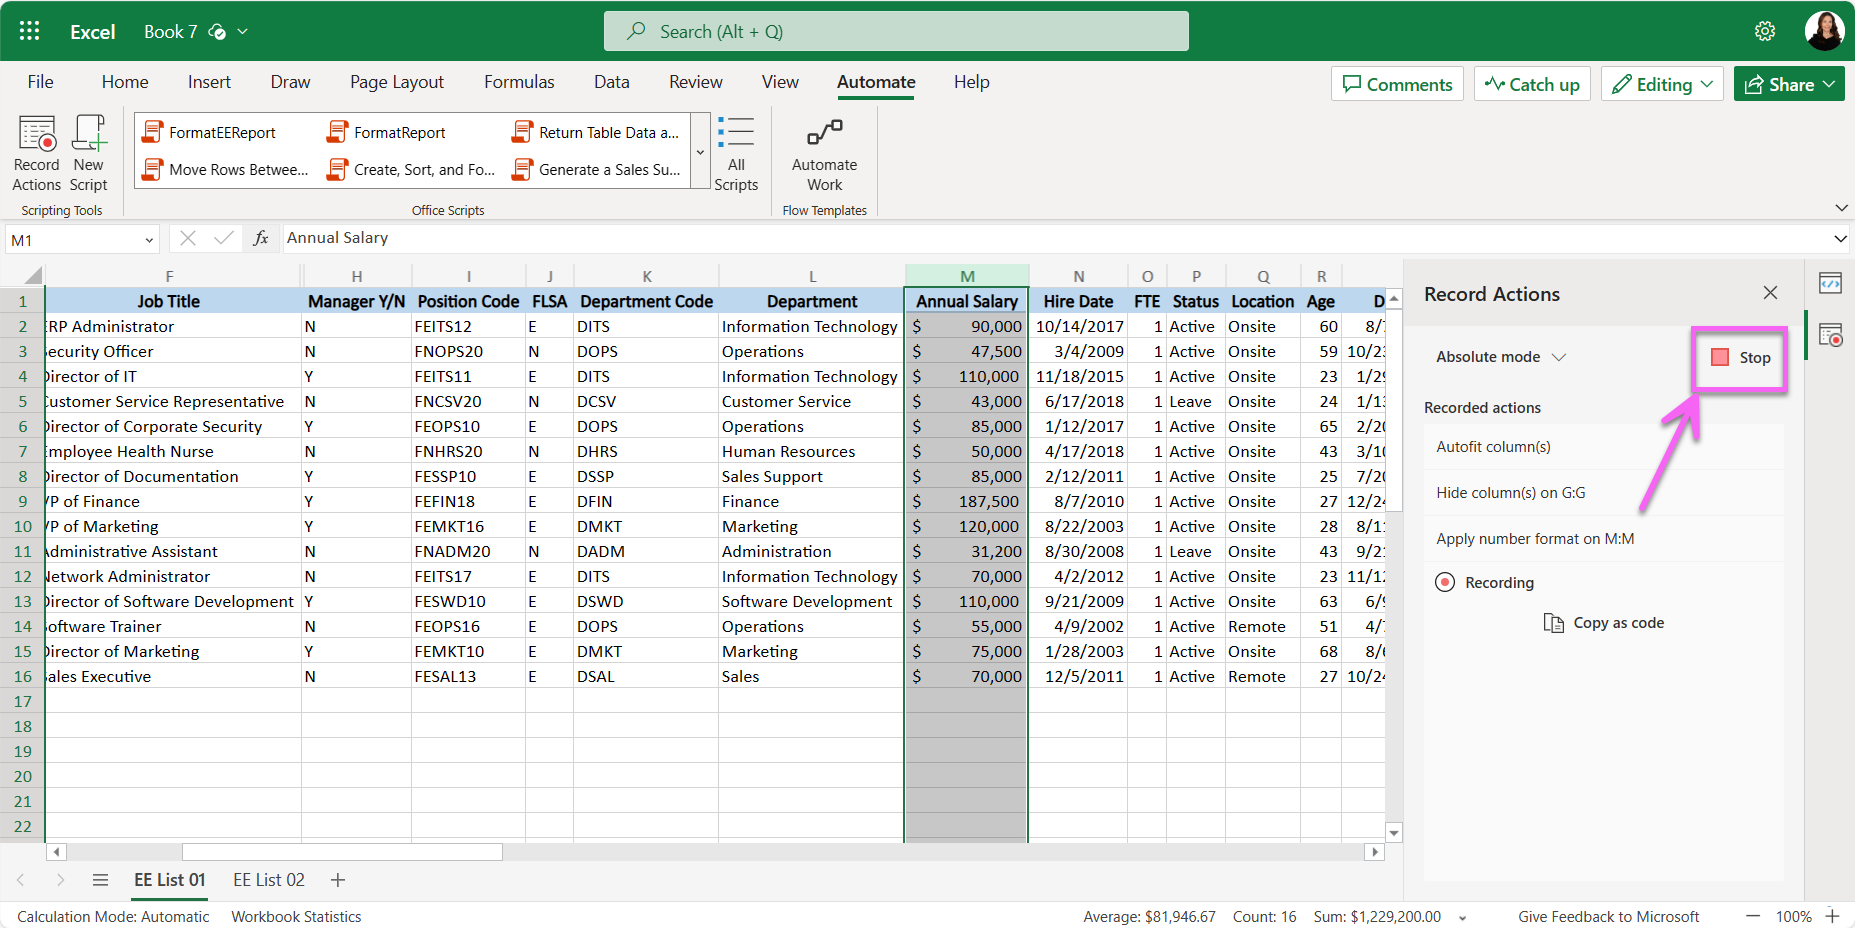
Press “Stop” when you are finished recording your Office Script

Rename your Office Script
Step 5: Test Your Script
Open a similar report that requires formatting.
Access the "Automate" tab.
Locate your Office Script in the list and click "Run."
Your script will execute, automatically applying all the recorded actions to format the report.
Congratulations! You've successfully automated report formatting in Excel using Office Scripts. This powerful tool can significantly reduce the time and effort required for repetitive tasks, allowing you to focus on more important aspects of your work.
Office Scripts make your Excel reporting process more efficient, and they don't require you to be a scripting expert. So, take advantage of this feature, save time, and improve your productivity today.
In this tutorial, we've covered the basics of creating and running Office Scripts. You can further explore this feature to automate more complex tasks and customize your scripts to suit your specific needs.
Give it a try, and watch your Excel reporting become faster and more efficient than ever before! Be sure and watch the other Excel tutorials on my YouTube Channel, like this one to calculate working days in Excel.